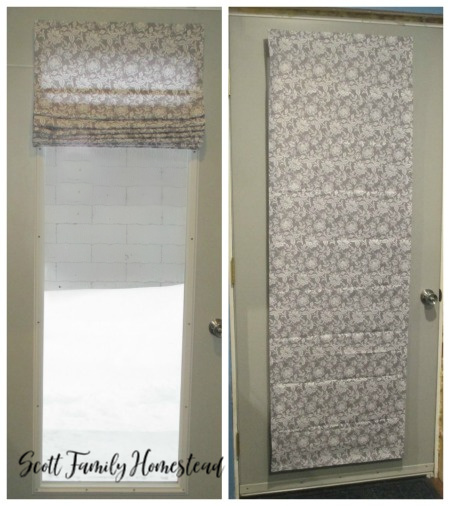

A few years ago I made an easy DIY roman shade for our side door. It has been the most popular post on the blog for years, so I thought I would share it again! This nice and easy project can be made to any size for windows or doors.

To start, you will need about 3 yards of fabric per door (which left enough for a cafe curtain on our kitchen window), seam tape, fabric glue, and a cheap set of blinds. Depending on the fabric you choose, this will be a fraction of the price of other curtains.
You will need to purchase blinds to fit your particular window or door. Start by cutting your fabric to fit the blinds. I measured the blinds, then added 4 inches to the dimensions. This allowed and inch and a half for the seams on each side and a bit of overhang left over so the blinds do not show.
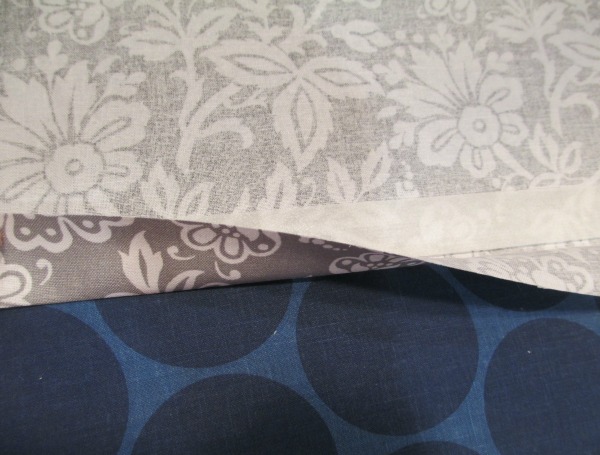
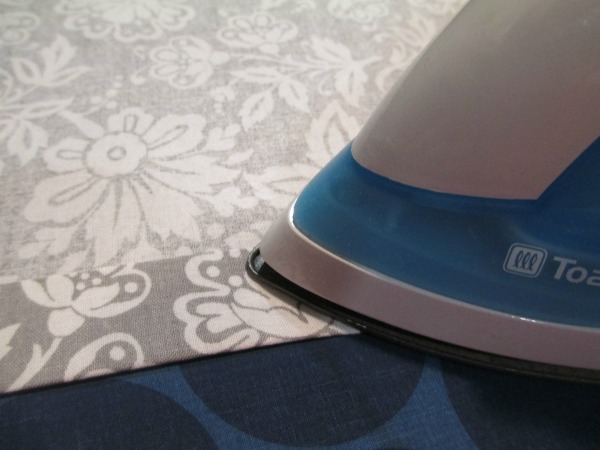
Use the seam tape (or sew) the edges of the fabric to create a large rectangle.
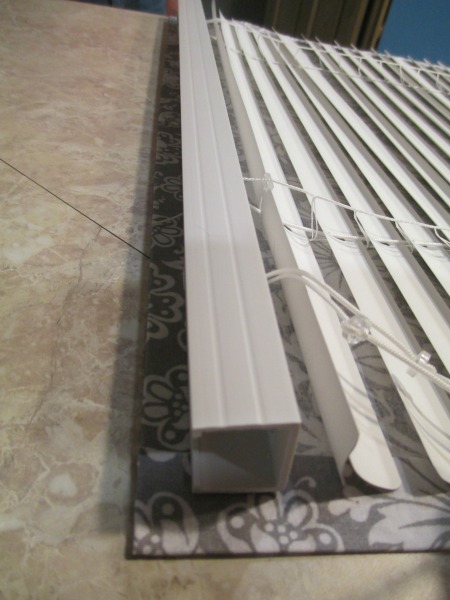
Next, lay the blinds on top of the fabric with the front facing down onto the fabric.
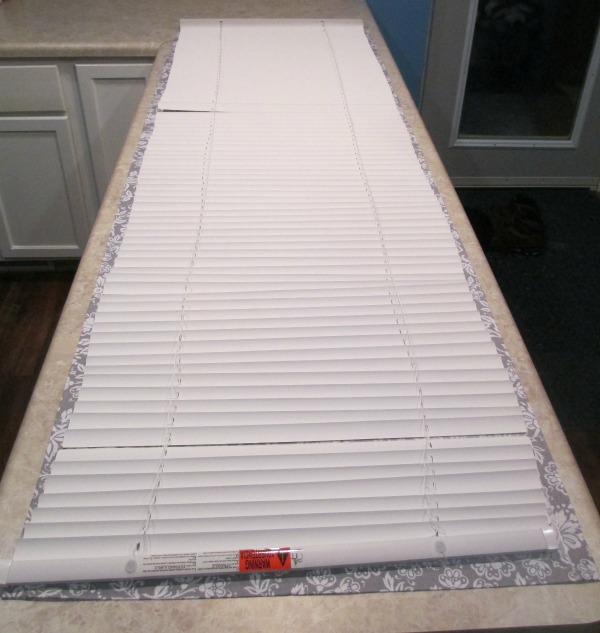
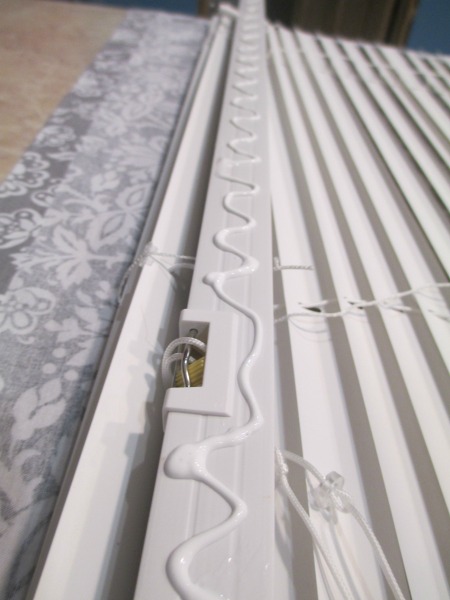
It is easiest to glue the top edge of the blinds down at this point. The glue will be applied to the edge with the pull cord and laid on top of the fabric.
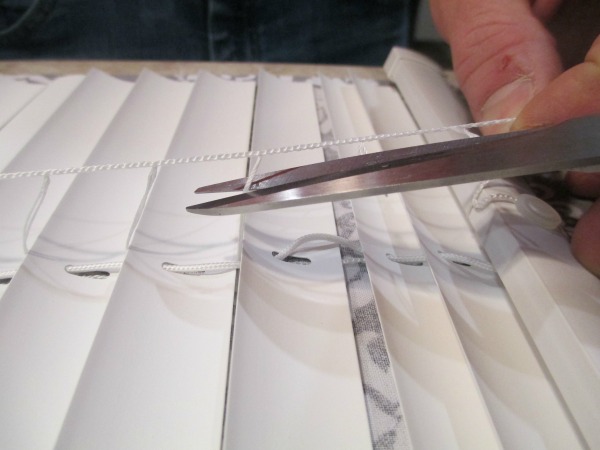
In order to remove the extra slats, you will need to cut the smaller cord that holds them together. Do not cut the thick pull cord.
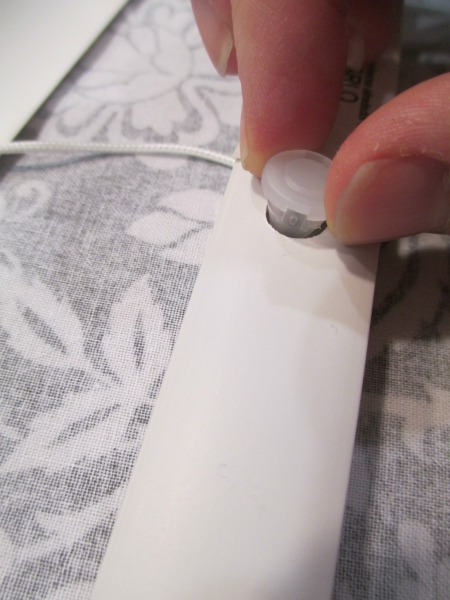
Remove the plugs at the bottom of the blinds and untie the pull cord.
You can now remove the bottom and extra slats. I placed my slats about 8 inches apart, which left 8 plus my top and bottom.
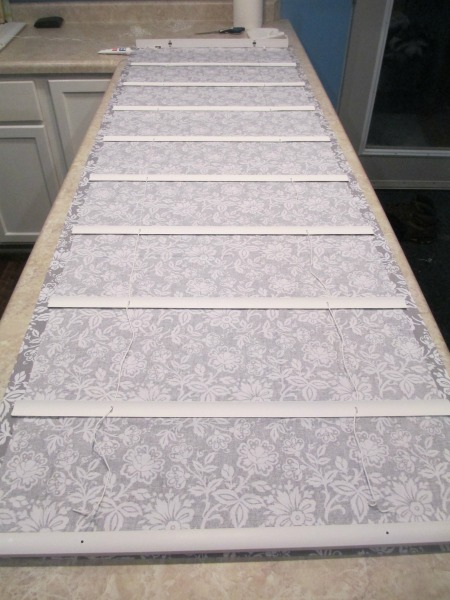
Glue each slat down with fabric tape an equal distance apart. You can choose any number of slats and the distance based on the look you want to achieve.
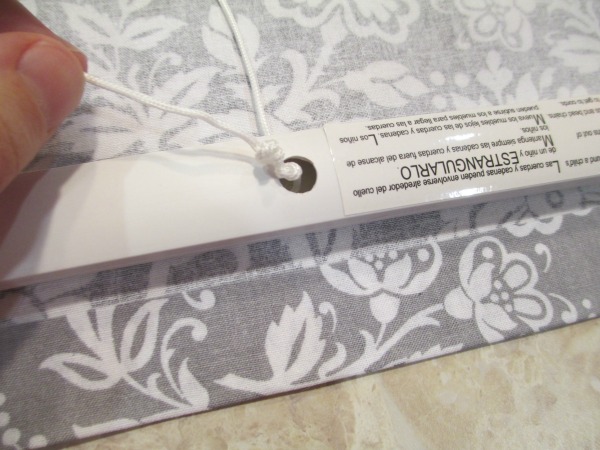
Once the slats are glued, you need to put the bottom piece back on and tie a new knot to hold it in place. Then replace the plastic plugs.
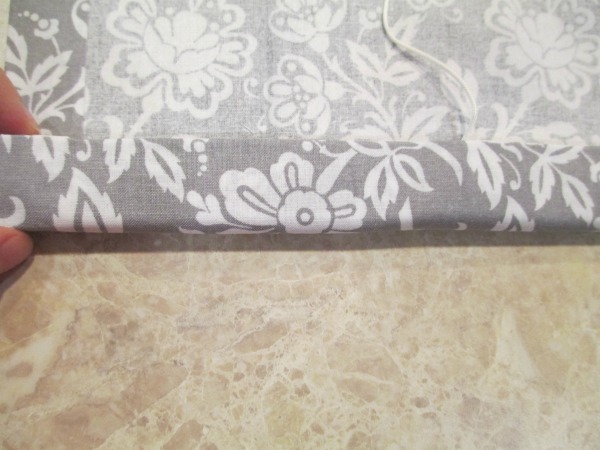
Lastly, the fabric needs to be glued to the bottom piece. Just apply the fabric glue and wrap the fabric around.
Let the glue dry overnight and then hang your curtain following the instructions that came with the blinds. That’s all that it takes! Cutting the fabric to size was the longest part of this project, but it was pretty simple overall. Give it a try and let me know how it goes. Follow along on Facebook and Instagram!