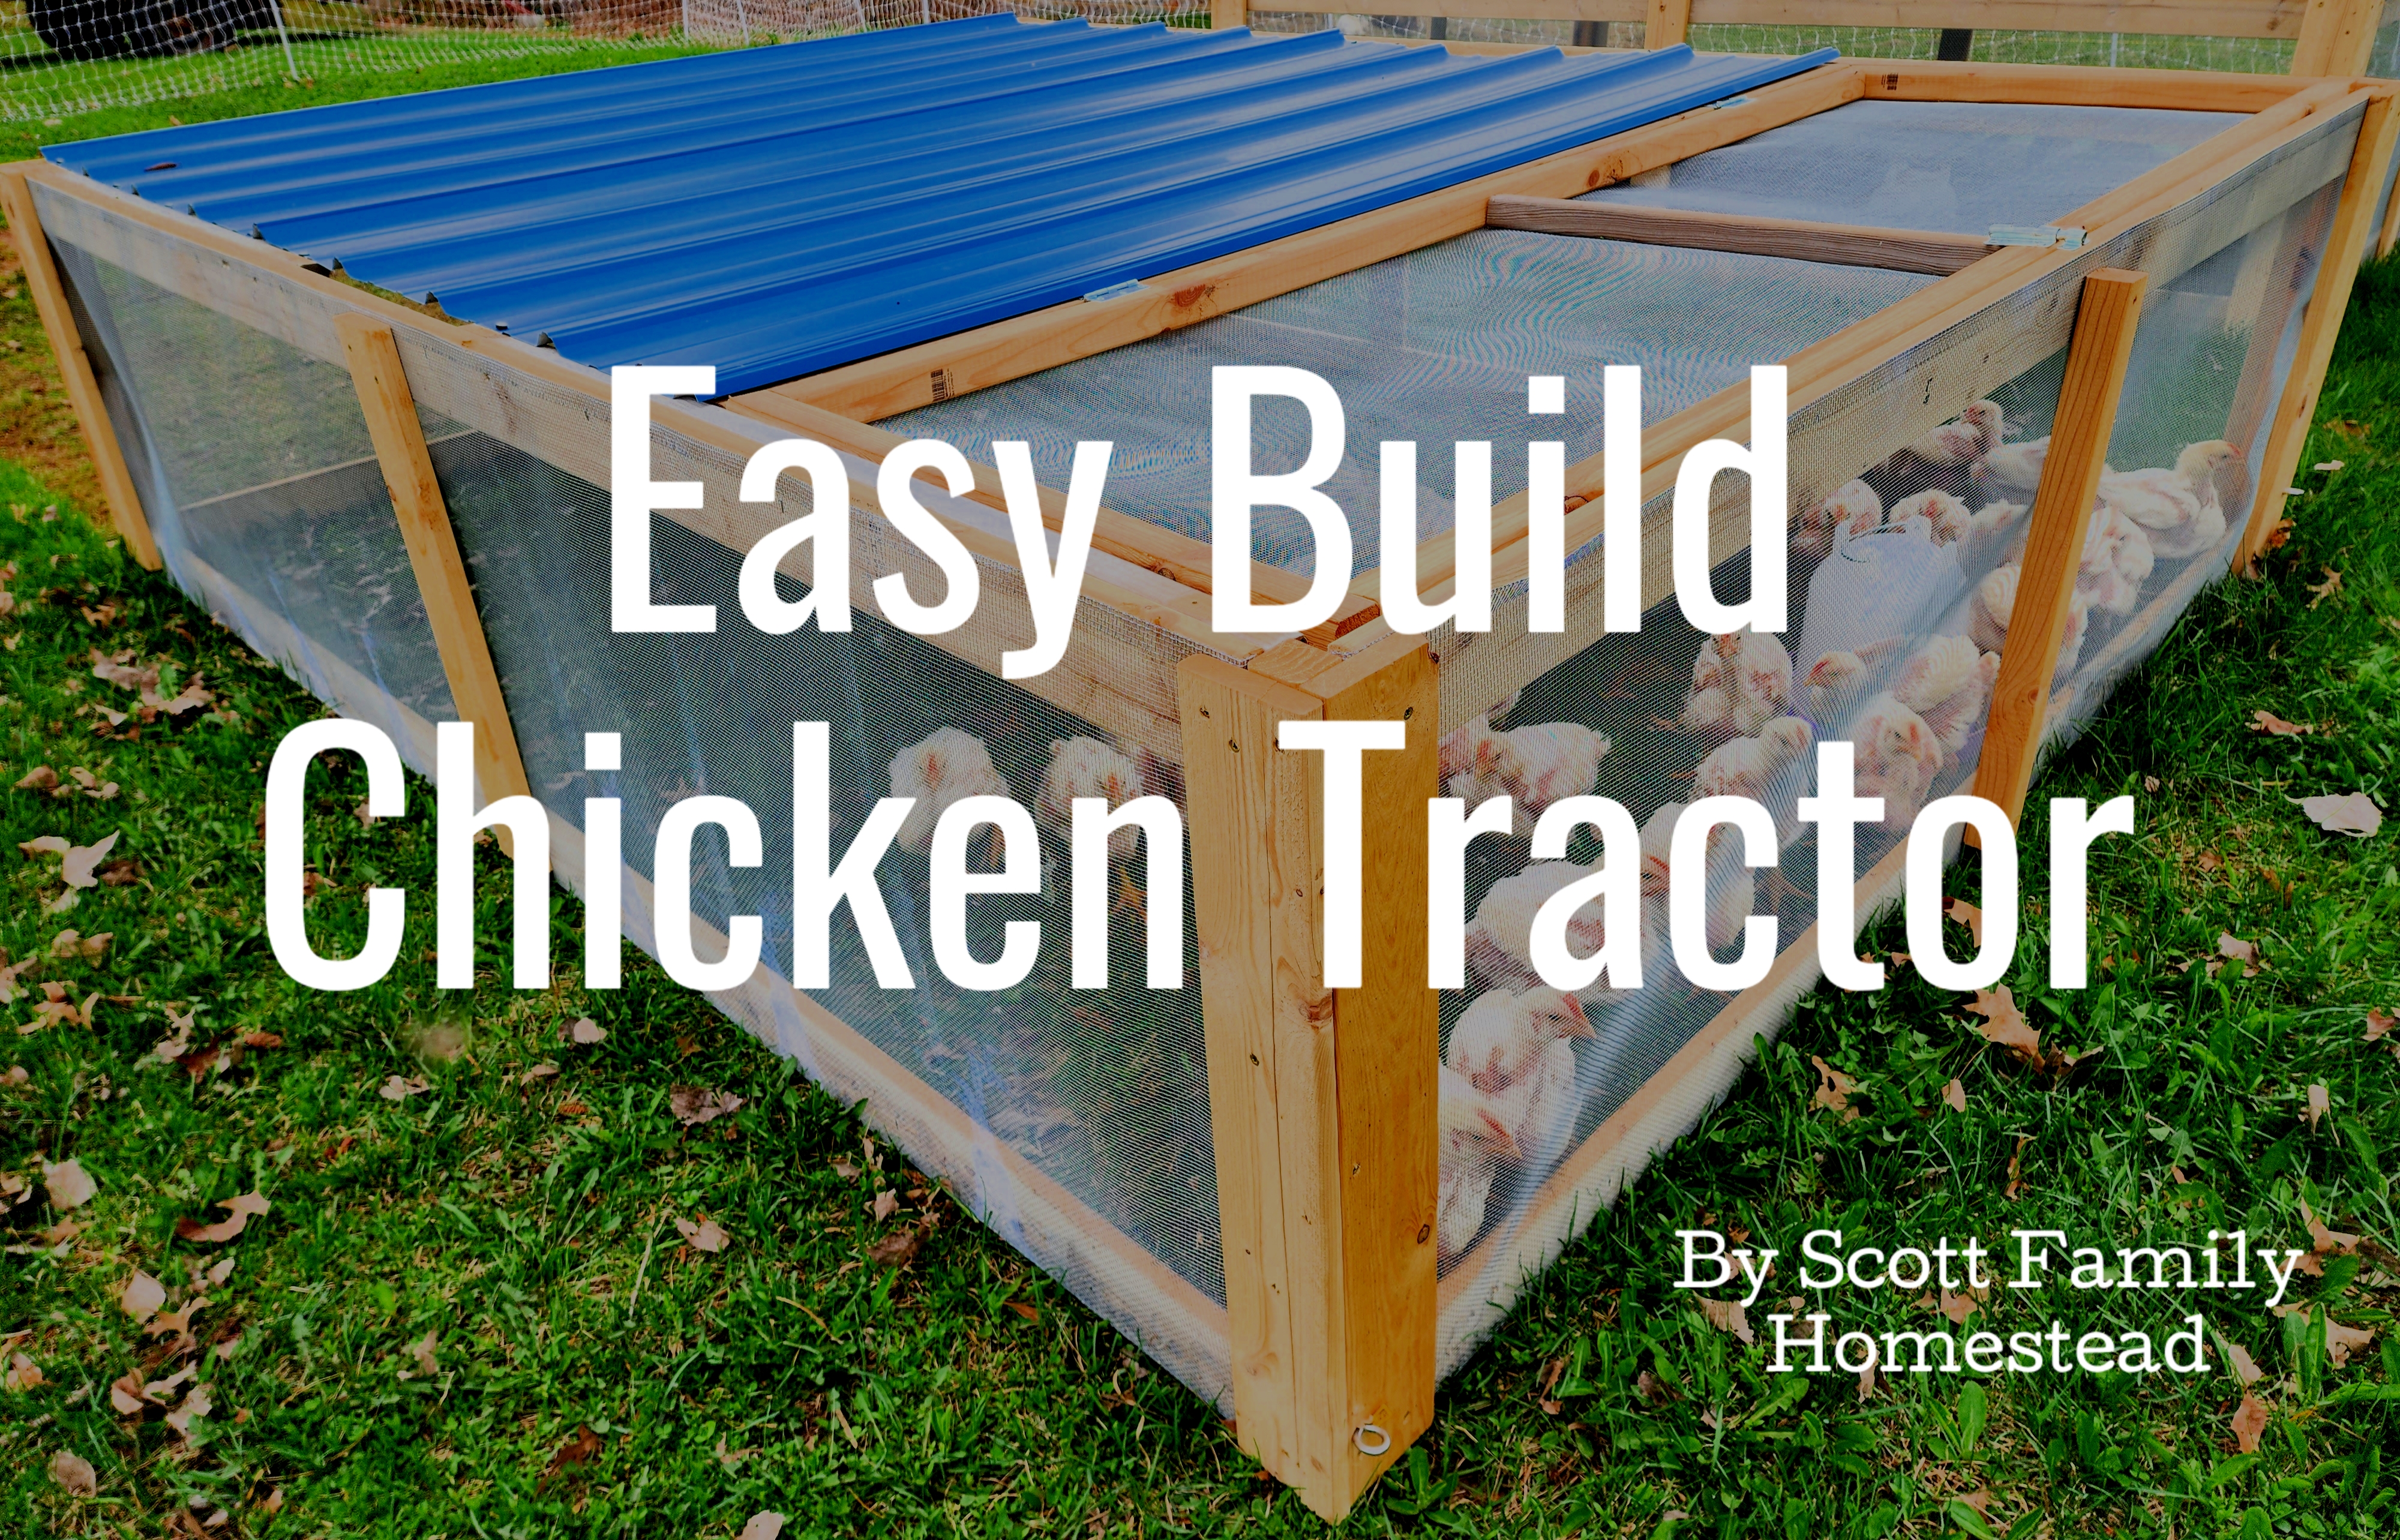

Here it is, the new and improved chicken tractor design from Scott Family Homestead! This easy to build tractor will be perfect for your meat birds, young turkeys, or rabbits, or you can adjust the sizing and use this design to fence in your raised beds, just follow steps 1-3.
This build can be done in just a couple of hours with the proper materials and tools. Feel free to adjust the plans as needed for your preferred use. (With untreated lumber and materials purchased from Menards, each chicken tractor cost approximately $150. Cost will vary by area and market prices. Date built: May 2023)

To see a complete step by step video, click here.
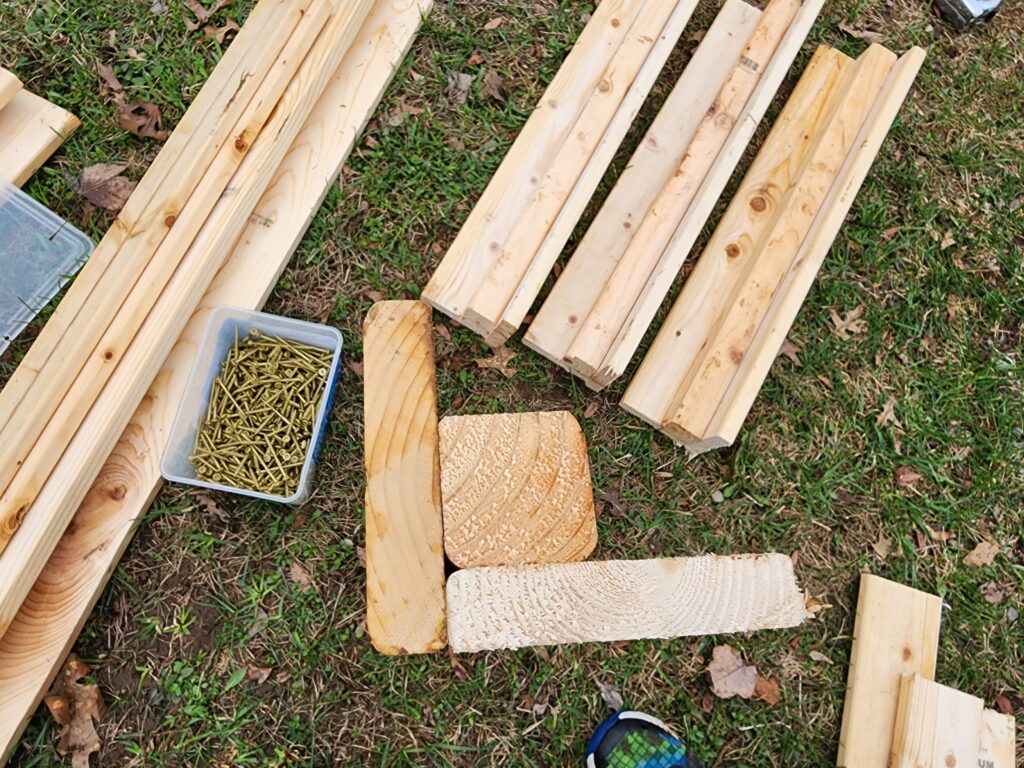
Materials
- 10 – 8’x1x4
- 10 – 8’x2x2
- 34′ hardware cloth 24″wide
- 2 – 6’x36″ roof panels
- 2 – 3″ hinges
- 1 sliding lock
- 2 eye bolts
- 2″ screws
- 3″ screws
- staples and stapler
- 1 1/2″ roofing nails
Cut List
- 4 – 8′ 1×4
- 4 – 6′ 1×4
- 12 – 24″ 1×4
- 6 – 24″ 2×2
- 2 – 8′ 2×2
- 2 – 70 1/2″ 2×2
- 2 – 67 1/2″ 2×2
Step 1
Create 4 corner posts by securing 2 24″ 1x4s to a 24″ 2×2.
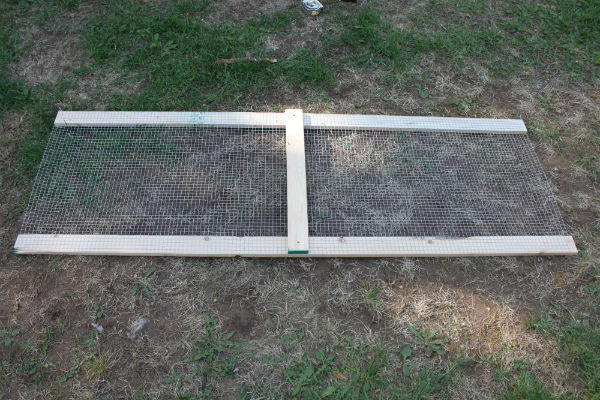
Step 2
Build 2 6′ sides by securing 24″ hardware cloth to 1x4s. Attach a 24″ 1×4 in the middle to secure the hardware cloth and add support.
Build 2 8′ sides by securing 24″ hardware cloth to 1x4s. Attach a 24″ 1×4 in the middle to secure the hardware cloth and add support.
Step 3
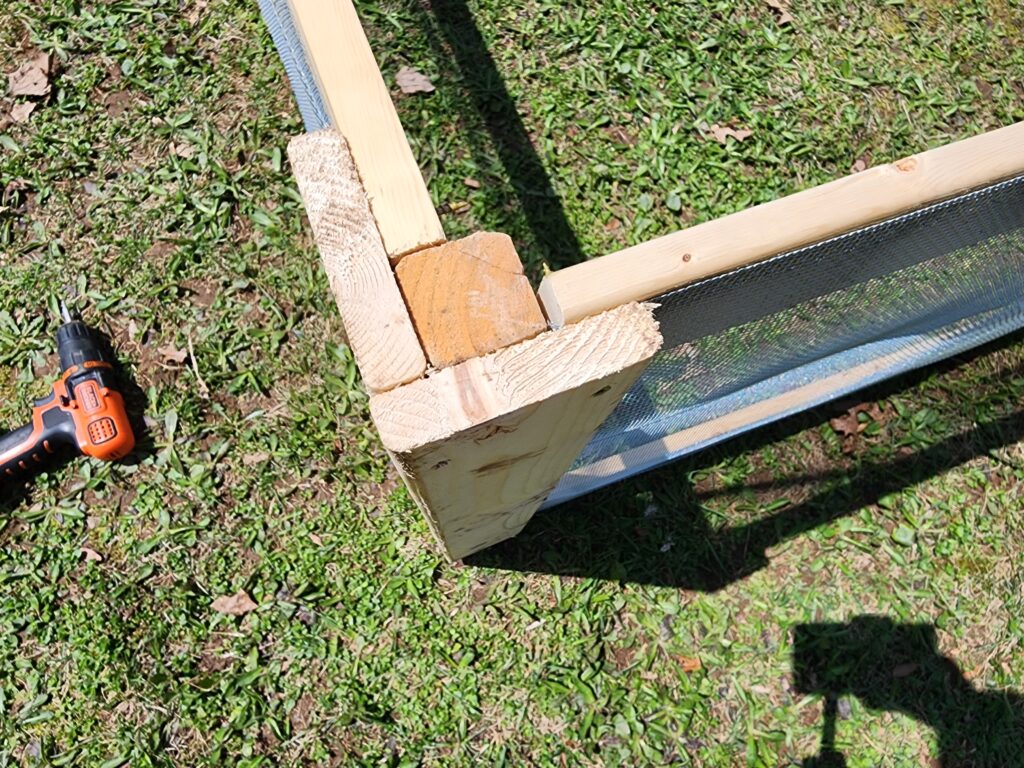
To finish the base of the chicken tractor, overlap your corner posts over the side panels. This helps secure the hardware cloth for extra stability and predator protection.
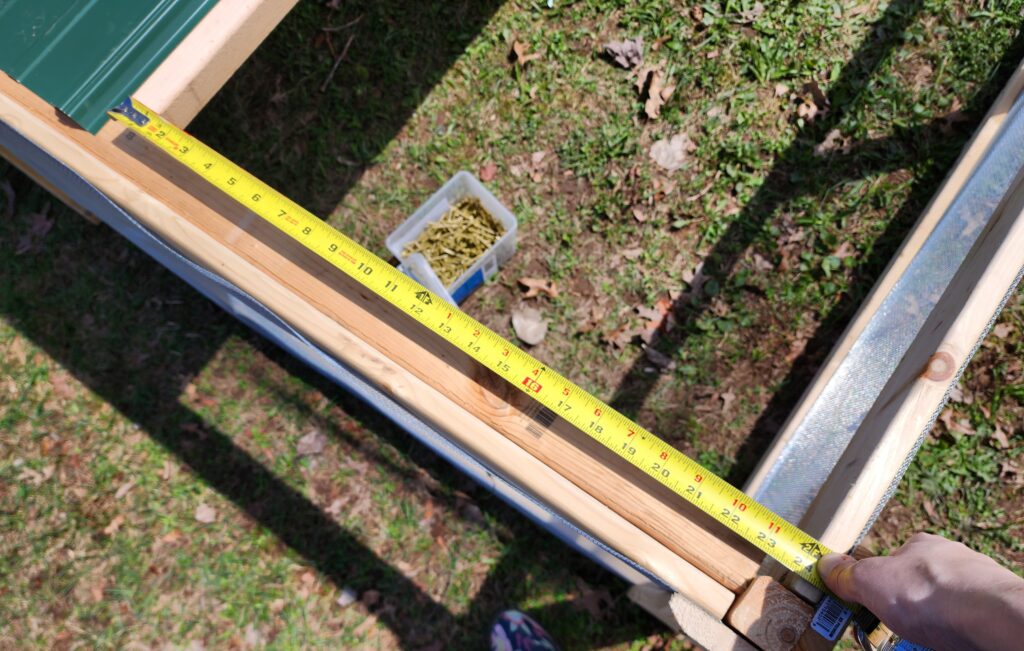
Step 4
Add an 8′ 2×2 to the inside edge of the 8′ sides of the tractor to help support the roof panels
Add 2 70 1/2″ 2x2s perpendicular to the 8′ sides to add support
Place the 2x2s to best support the roof panels, be sure to leave a 24″ opening for step 5 (building a hinged door)
Step 5
Build a hinged door using 24″ 2x2s and 67 1/2″ 2x2s with 24″ hardware cloth attached. (The 67 1/2″ 2x2s will sit inside the 24″ 2x2s)
Install door with hinges and a sliding lock. You can add a block of leftover 2×2 to the tractor side panel to support the door if needed.
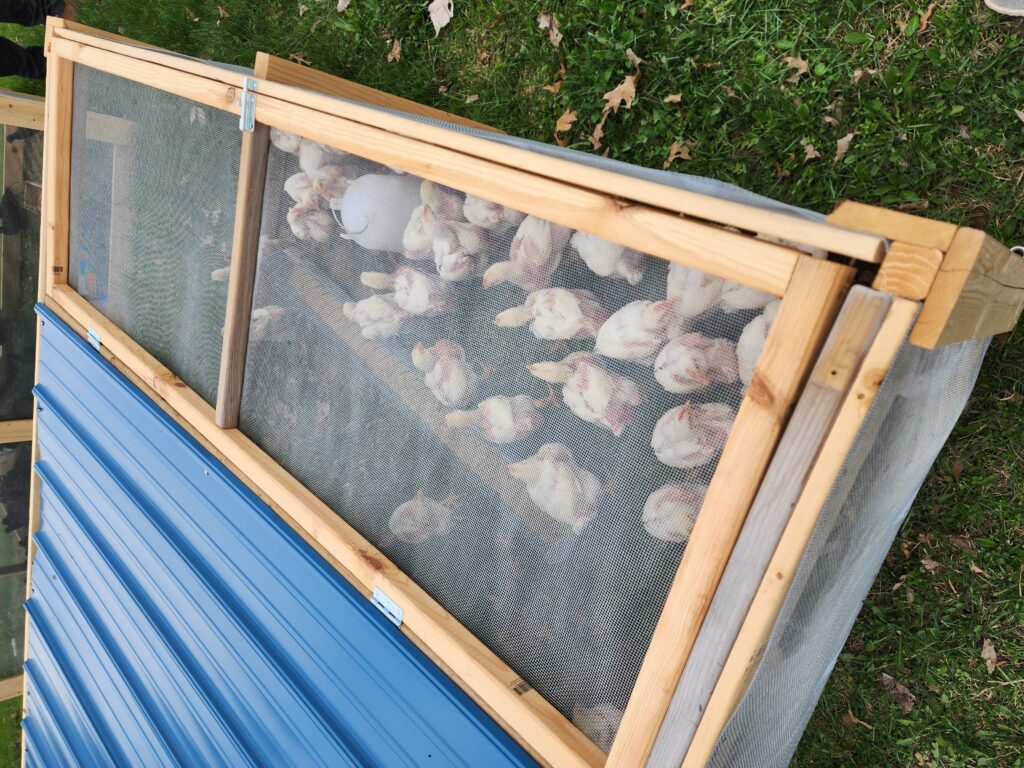
Step 6
Add eye bolts to the front corners to easily pull and move the tractor daily with a rope and/or tractor or atv.
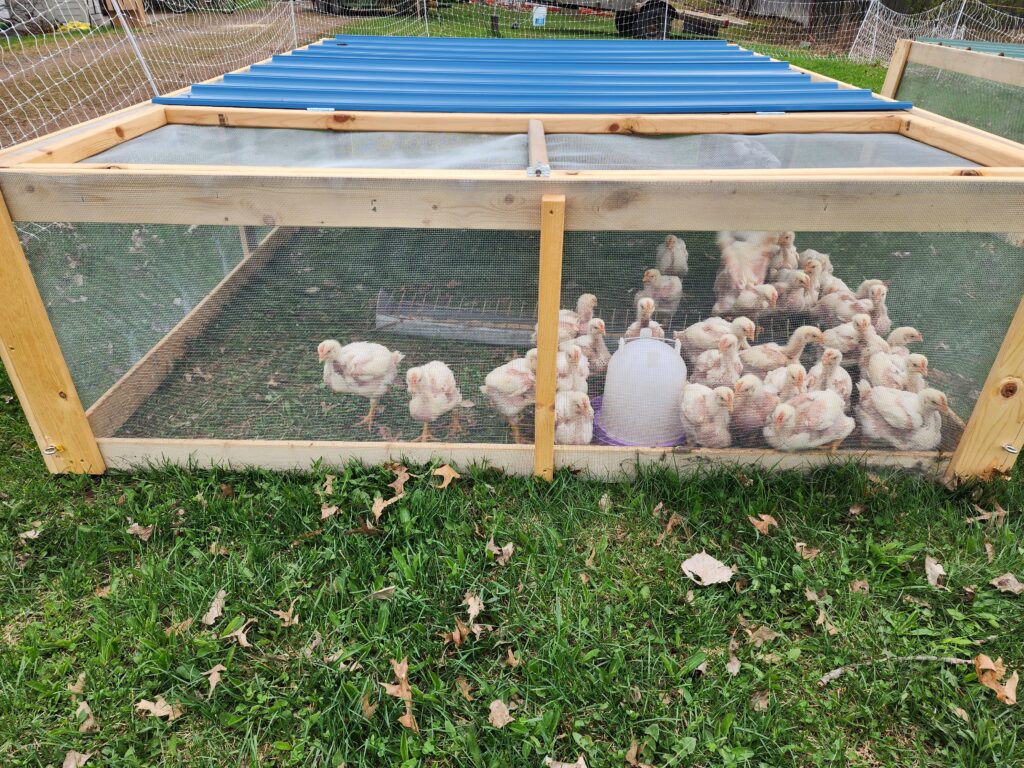
That’s it, 6 steps to a sturdy built chicken tractor to raise your own meat!
*We do recommend using electric perimeter fencing if you are in a high predator area.

Questions or comments? Leave a message below or reach out through Facebook, Instagram, or YouTube!
Thanks for following along and happy building!