


Disclaimer: This post contains affiliate links. At no cost to you, I will earn a commission if you click through and make a purchase on Amazon.com. All opinions are my own.
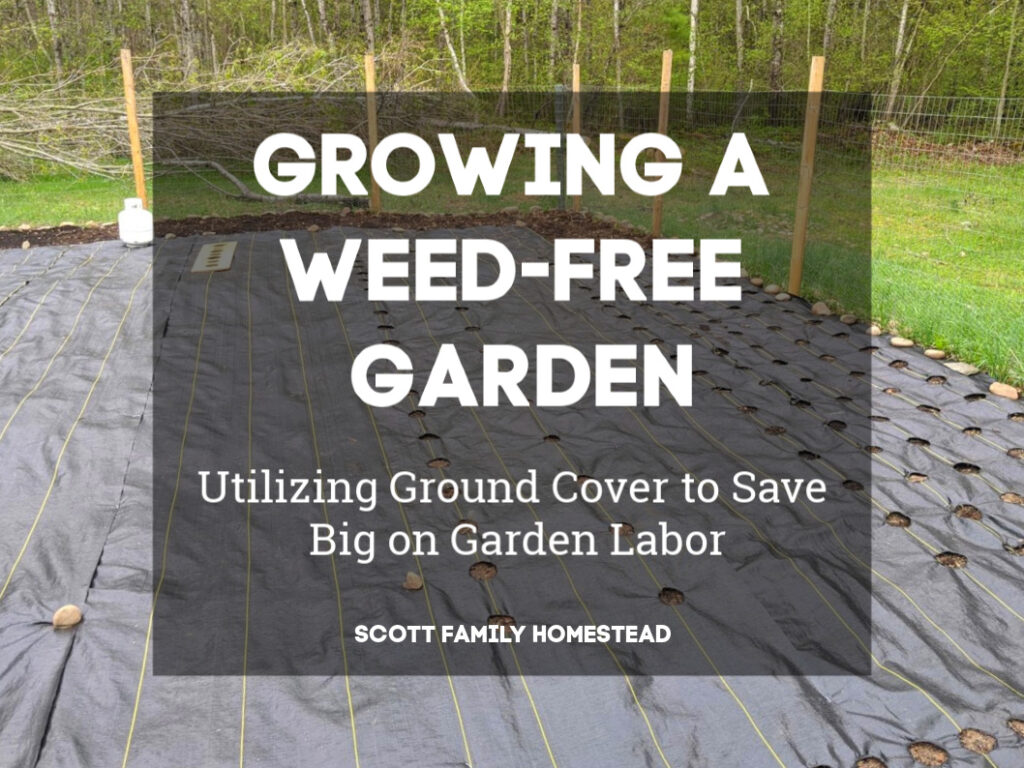
A garden without weeds sounds too good to be true, right? Well, we are giving it a try this year. We have a 32′ x 24′ garden that is a lot to keep up with as the season progresses. With a couple of simple steps we can cut down on the weeds and labor, and we decided to take on the extra cost to make that happen. We do not use this method on our raised beds, but in our field it seems like a great choice.
I need to make a disclaimer here, because this is our first attempt at this. There may be some issues with this method that we haven’t thought of, and it may take some troubleshooting. I will try my best to update this post after we have experienced an entire growing season with this process. I also have included links to the products we purchased to complete this project, but we are not sponsored by any of these brands or websites.
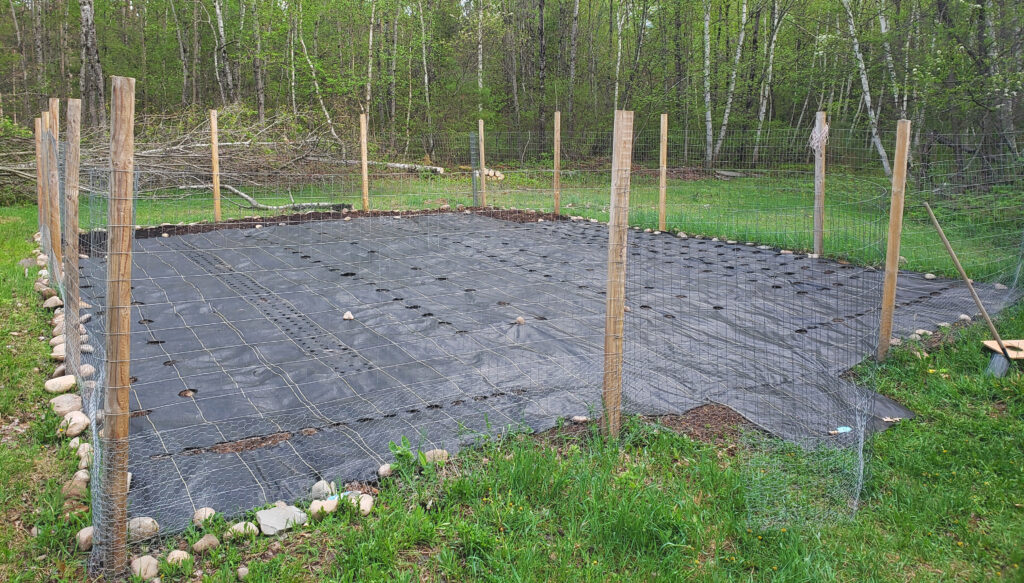
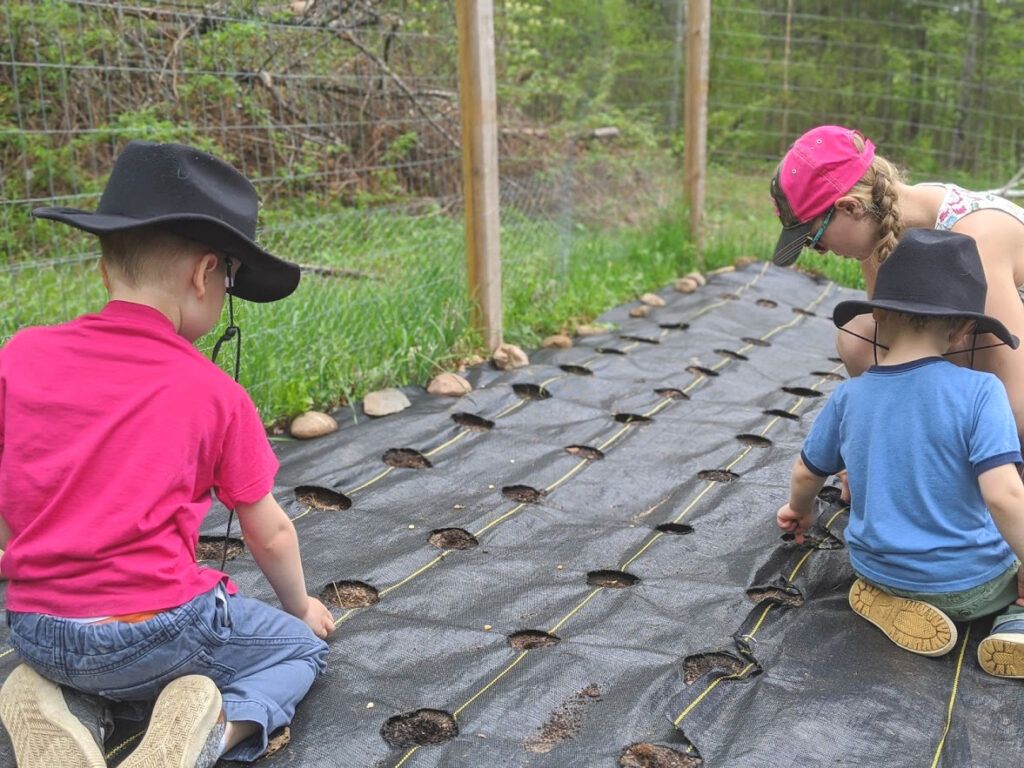
So, how does one go about growing a garden without weeds? It starts with ground cover fabric laid over the surface of the garden. For us, that includes all growing space and walkways. The fabric is held down with landscape staples, and we recommend the longest ones you can find. You do not want the wind to catch under the seams and pull up your fabric and plants.
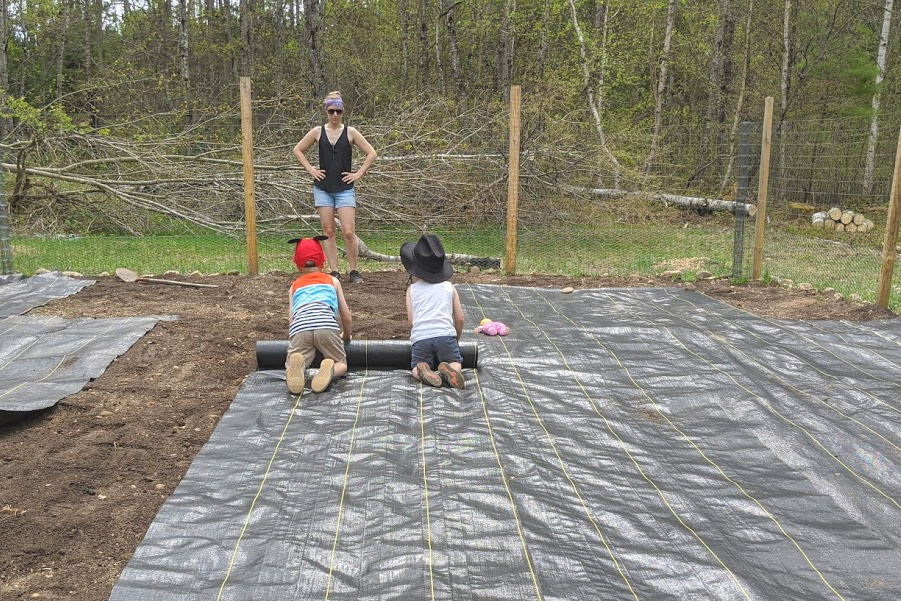
Next, you need to map out your garden. This ground cover method works best with a drip irrigation system, so keep that in mind while you map out your rows. It will be important to know your plant spacing and note that on your map as well. If you plan to reuse this ground cover year after year (which is possible and more cost effective), try to map out your garden in 4′ sections so that each row of ground cover can easily be reused. You will want to avoid putting holes on edges or overlapped areas.
This ground cover can be cut to accommodate plants with a simple X sliced for each plant, but it is much easier and faster to burn holes for your plants. Also, when you burn the ground cover it creates a melted edge that will prevent fraying. Now before you go taking a lighter or torch to your ground cover, check out these templates my husband made.
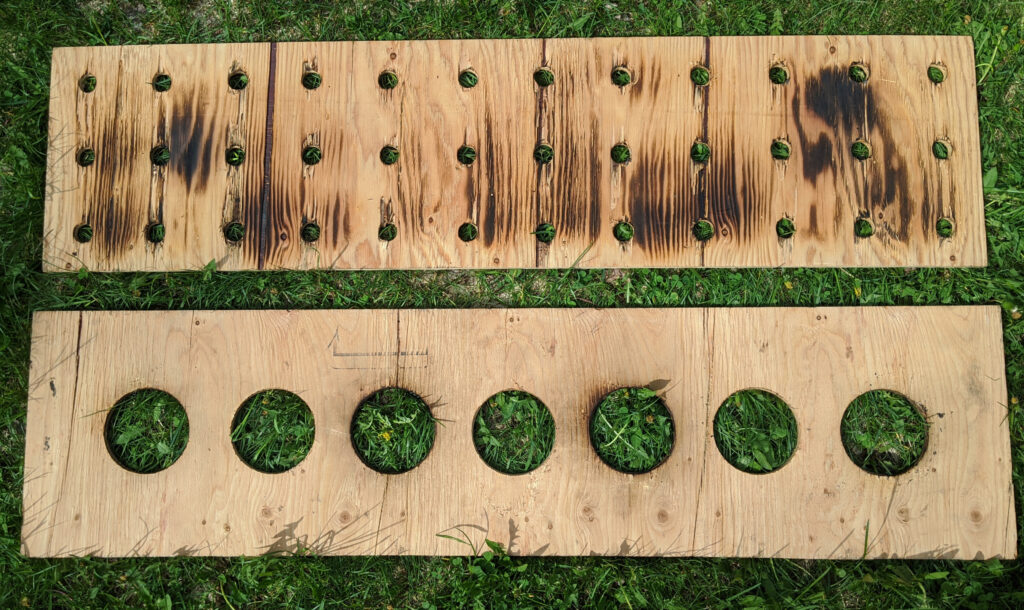
He made 2 templates from some scrap plywood. One has 4″ holes drilled with a hole saw, spaced 6″ from center to center. This simple template can be used to space plants 6″, 12″, 18″, or 24″, perfect for tomatoes, peppers, and squash. The other template we have has smaller 1″ holes spaced 4″ from center to center. This one allows spacing of 4″ and 8″, perfect for beans and greens. The circles will be fairly consistent on size, depending on what tool you use to create the holes. We have a propane torch that does the trick, but it needs to be dialed down to a low setting to better control which holes you want cleared for plants.

We decided not to use this method for root crops such as onions, potatoes, and carrots. Once the seeds or plants are set, it will be difficult to harvest root vegetables through the fabric. We left one area of open space against the back edge of the garden to grow these vegetables.
Although water can seep through this fabric, drip irrigation will work best with this technique. This will work especially well for us because transporting water to this garden has been an issue in the past. With drip irrigation we can put the water exactly where we need it and we can run a hose to it from our backyard. I will be sure to update when we have the drip irrigation installed. For now, we’ve got some planting to do!
For more details, check out our stories on Instagram @scottfamilyhomestead. I post homestead updates daily and have saved stories for our gardens and DIY projects. We are also on facebook @scottfamilyhomestead.