

Disclaimer: This post contains affiliate links. At no cost to you, I will earn a commission if you click through and make a purchase on Amazon.com. All opinions are my own.
A few years ago we decided to venture into making homemade maple syrup. The good news is, as long as you have access to a maple tree, it is a really simple process! The boiling can be quite time consuming (more on that later), but the final product is worth every minute of it. We started by getting a starter kit from Tap My Trees with a great book with all of the information you need. I’ll give you a little summary.

First, you need some basic equipment to get started tapping. This part is actually very simple. For collection you will need:
- A Tap: We purchased our taps from Tap My Trees. We like the size of these and the way the buckets and lids attach. We have also used plastic taps with downspouts. These are great for maples that are clustered together where you may want to run several tubes into one large collection bucket. They are also more affordable.
- A Hammer: To tap in your taps
- A Drill: Taps can come in different sizes, so make sure you have a drill bit that matches the proper size for the tap.
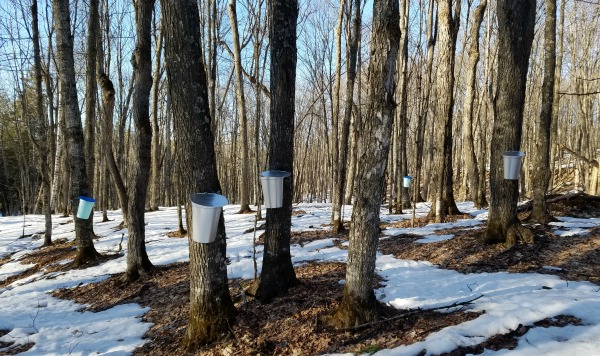
- A Collection Bucket: You can buy buckets made specifically for maple sap or you can make your own from a milk jug or other food safe container. We used both plastic and metal buckets from Tap My Trees. We loved the classic sound of the metal buckets, but we liked the cheaper price and slightly larger size of the plastic buckets.
- A Lid: Debris will get into your collection buckets if you don’t have some kind of lid.
- A 5 Gallon Bucket for Storage: When you collect your sap you will need a large, food safe bucket for storage. You can keep sap in these buckets refrigerated or packed with snow for up to a week. This is great news if you only have a few taps and want to wait until you have a substantial amount to boil. Remember, it take 40 gallons of sap to make 1 gallon of syrup! I recommend a gamma lid for the easiest storage.
- Cheesecloth: It is best to run your sap through cheesecloth before putting it in your storage bucket to remove any large pieces of debris that may change the flavor of your sap. We use a heavy filter for our final product to also remove sediment, which can be bought in a kit with lighter filters for the early stages.
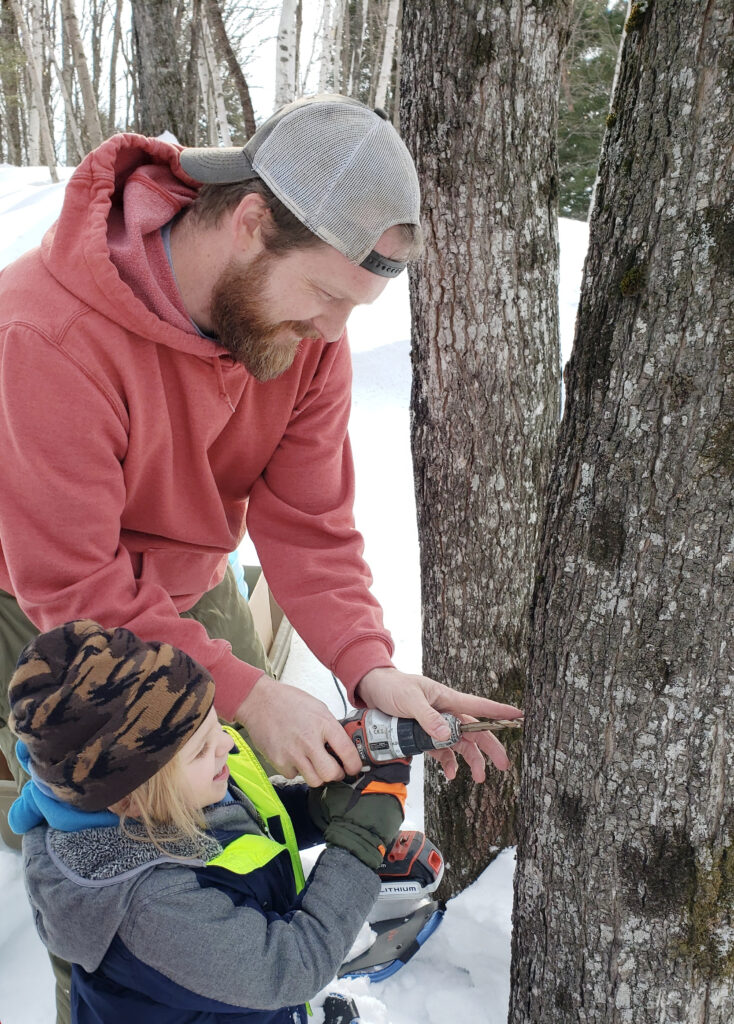
Once you have these few simple pieces of equipment, you are ready to get started! Putting out your taps is as simple as drilling a hole about 2 inches into a maple tree at chest height at a slight upward angle. Insert the tap with a few gentle taps of a hammer, not too hard. Hang your bucket and you are good to go. If the temperature is right, you may see sap flow immediately. The sap flows the best when it is in the 40’s (F) during the day and freezing at night. The freeze-thaw pattern is what causes a pressure change in the tree. This can mean that syrup season can last a week or 6 weeks. It all depends on the weather.
Once you have several gallons of sap, it is time to boil. This is the long and slightly more difficult process. Assuming you do not have an evaporator you will need:
- A Candy Thermometer: Water boils at 212 Degrees F at most elevations. You can test your boiling point with a candy thermometer. Maple syrup boils at 7 degrees above water, or 219 degrees F for our area.
- A Stainless Steal Pan: We used 2 different pans for each stage. We use a large buffet pan on our homemade evaporator, or you can use a gas grill. We find it easiest to finish the syrup inside and use a large stockpot on the stove.
- A Fuel or Fire Source: You can find all sorts of DIY evaporator plans online, many of which use the buffet pans.
- Hydrometer: If you want to be even more precise, you can also get a hydrometer, which is a tool that measures sugar content. We started using this tool when we decided to sell syrup so we could be certain of our sugar content. However, it is not required for beginners.
- Filter: Once you are done boiling your sap you will need to filter it before it is put into the final container.
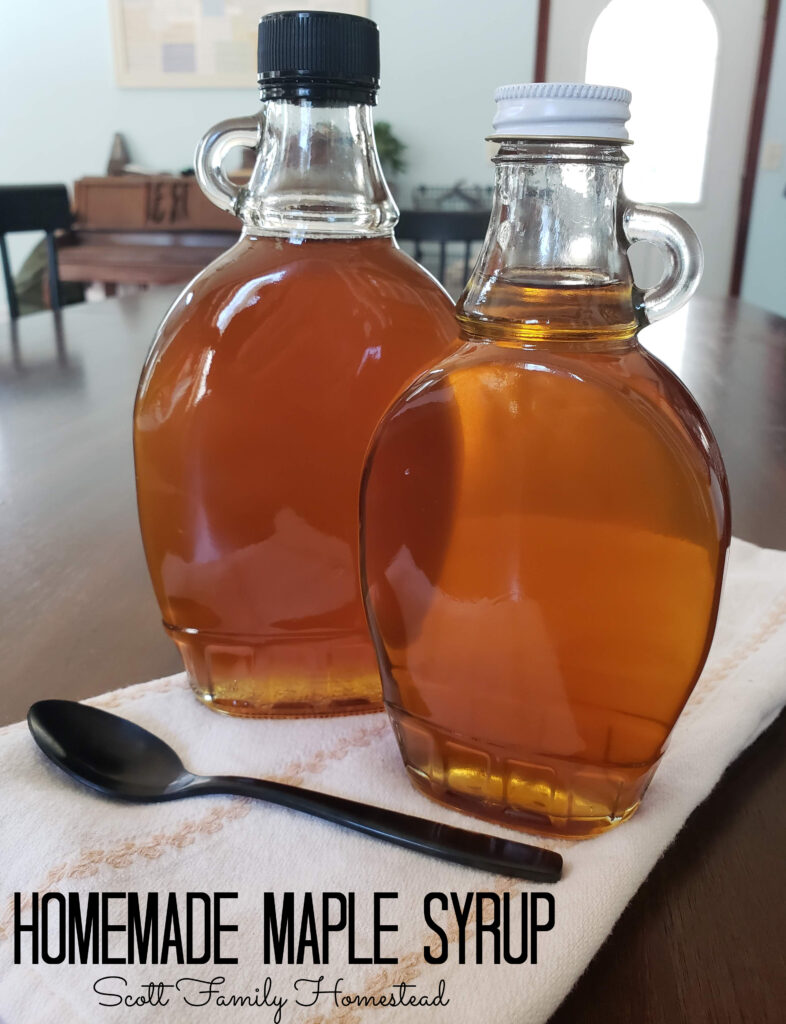
- Canning Jars: Boil jars and put the syrup in hot. You can also use syrup bottles. These are what we like to use when we sell syrup.
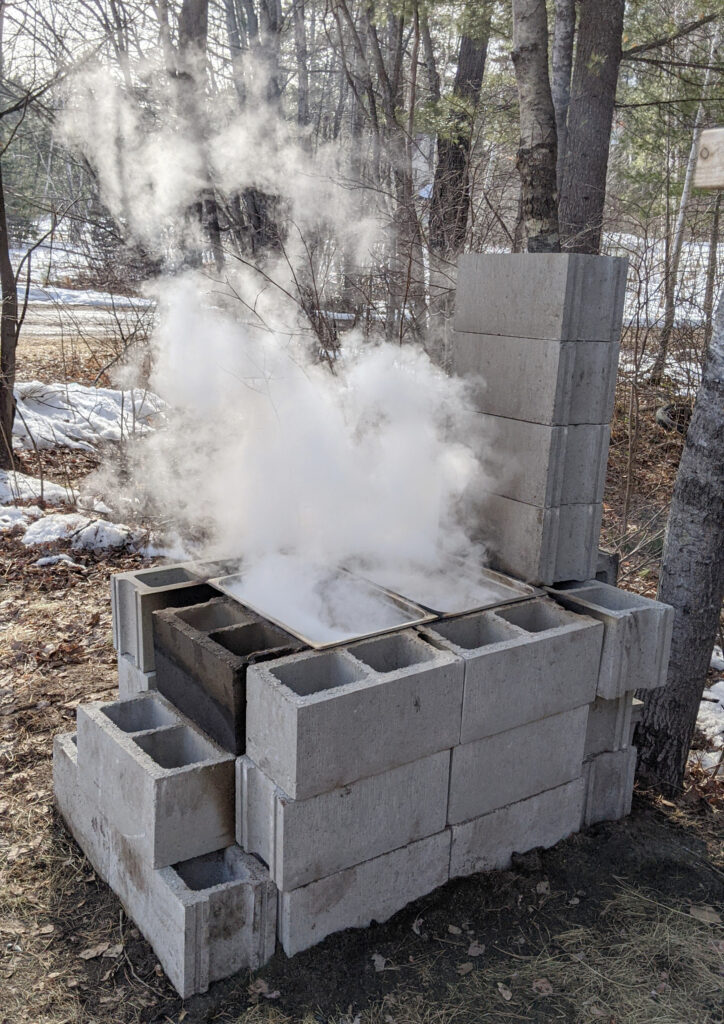
We started boiling sap on the grill our first year. This process took a lot of propane and I would not recommend it for a large amount of sap, but for 8 gallons or so a day on the grill can work just fine. Keep the lid cracked so the steam can escape. Remember, your goal is to get rid of as much water as quickly as possible. When you add more sap to the already boiling pan, you need to preheat the sap first. This will help you maintain the boil. In recent years we have made a cement block evaporator. I hope to have a tutorial on that soon, after we rebuild this year.
Once the sap is near the correct temperature, transfer the remaining “almost syrup” to a stock pot and finish indoors. This will give you better control over the temperature. Some people use a hydrometer to measure the sugar content, but for a small operation a candy thermometer works just as well and can clip right onto a pot of sap. Once the desired temperature is met, the syrup can be put through the heavy filter, or several layers of cheesecloth, to remove any remaining sediment.

As the sap cooks down it will take on an amber color. Sap collected early in the year will remain an amber color and sap from later in the spring will appear darker. As long as the thickness and taste is to your liking, enjoy it!
Everyone should try making maple syrups at least once. At the very least, it will make you appreciate what really goes into making it and you will appreciate your local syrup so much more. We made a gallon of syrup our first year and increased to nearly 3 gallons last year. We might scale back a bit this spring but have found that a gallon is about what we need for our family of 5.
If you are doing syrup this year, let us know how we can help! Happy tapping!