

As part of our master bathroom makeover, we are also fixing up our master closet. This closet has been a catchall since we moved in. We are lucky to have just enough in the budget to make this a really nice space.
We started by emptying out the whole closet and taking 3 boxes of clothes to the thrift shop. I mean, I’m no Marie Kondo, but it’s a start. Now that it is cleaned out, we can finally get started. When we finish up this project, nothing is going back into this closet unless we love it and it has a place. Project “Everything in our home needs a home.”
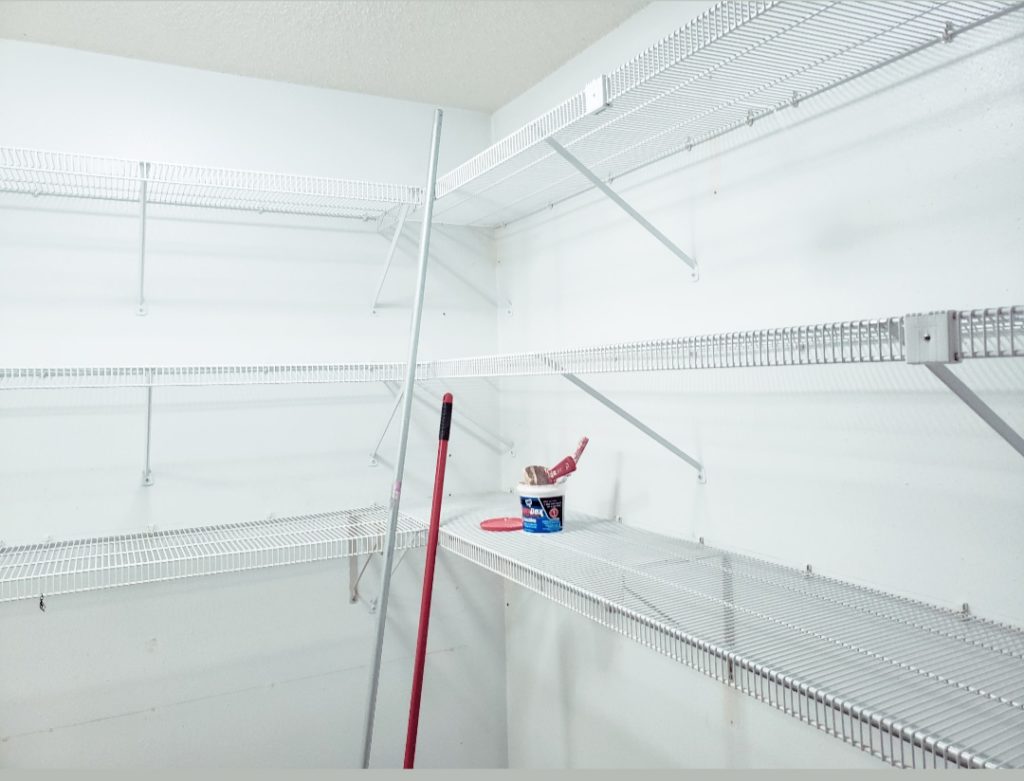
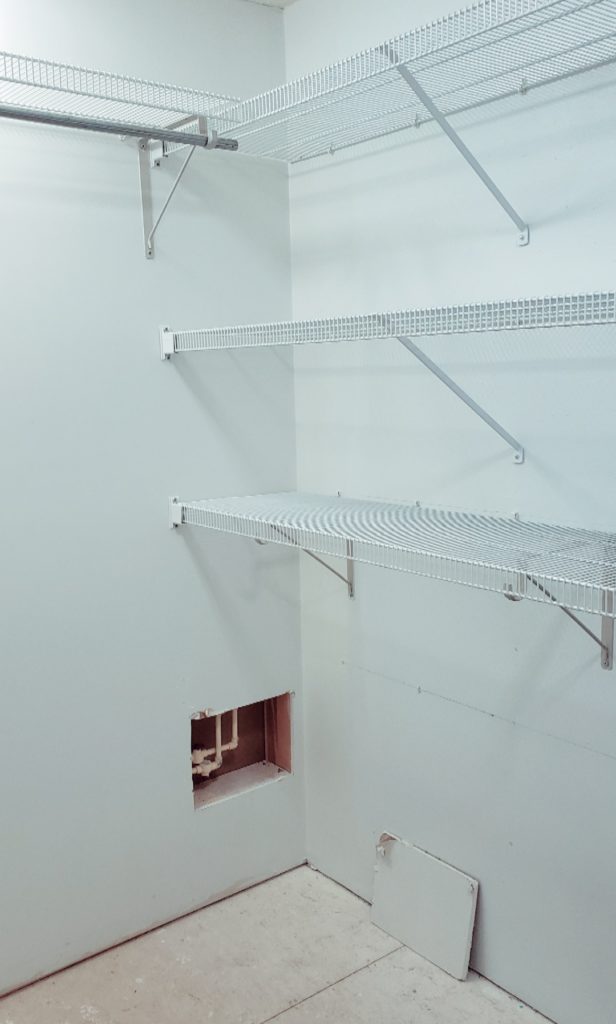
Our closet is shaped like an L and originally had these wire shelves. I hate to just throw things like this out, so luckily they are just the right size to be used in my greenhouse. They should be great for dirt and water because the metal is coated. I’ve been looking for some good shelves to put in there and these are just right. If there are any left over they will be installed in the basement for storage.
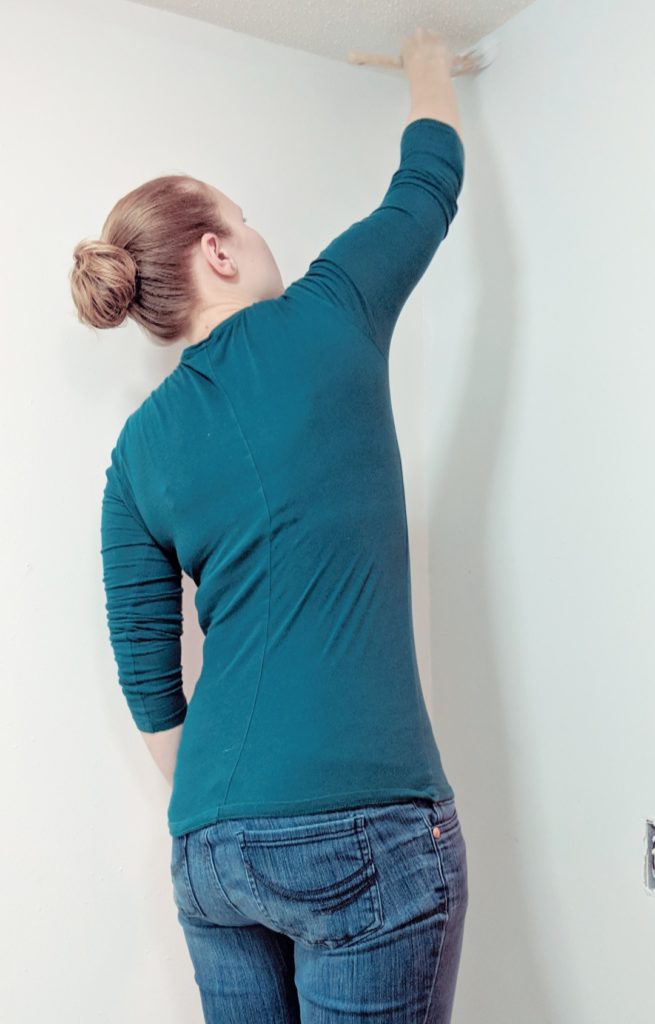
These shelves were installed with about 100 drywall anchors, which left quite a lot of damage in the walls. It took a lot of mud, but I got the job done and with a little bit if sanding it looks pretty good. Add in the fact that this is a closet, which doesn’t need to be perfect, and we will be putting in closet organizational units, the drywall will be just fine.
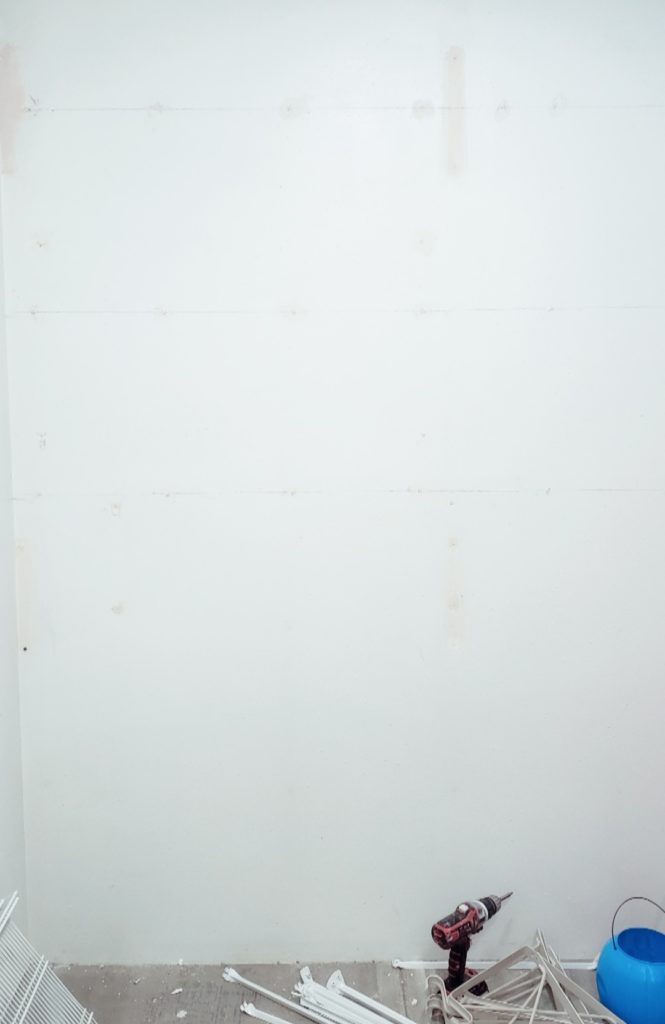
My first experience fixing drywall like this happened half a life-time ago. I was 15 years old and my parents paid me to patch drywall and paint one of their office rental units. I gladly accepted the job and it was a good learning experience. I picked up lemon ice drink, got out my radio to blast some music, and got to work, all by myself. Flash forward 15 years and here I am, doing the exact same job while quietly trying not to wake the baby, hiding in the closet to avoid the 4 year old and 2 year old, and drinking cold coffee. Mom life.
Anyways, after a coat of paint, the walls are now completely prepped. I’d love to share the paint color, but I bought 3 gallons of paint before giving up and mixing them all together because I didn’t love any of them. This is some combination of white, blue, and grey but shows up as a very light blue that appears more grey in the evening. It is the color we also used in the bathroom and it is a great clean, fresh color.
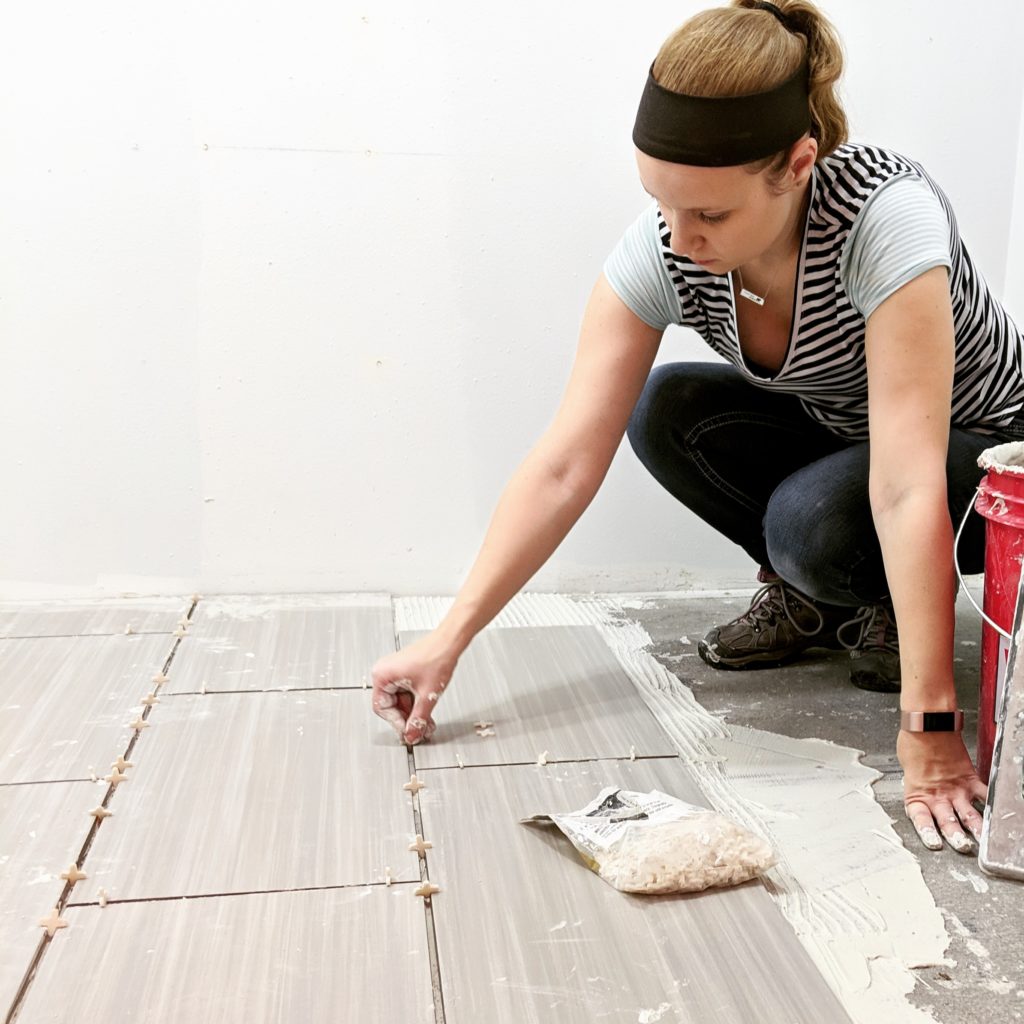
We tiled the bathroom with a 12×24 grey tile (with the exception of a small mosaic tile rug) and we ran that same tile right into the closet. I am super proud of this closet because I actually laid all of this tile myself. After tiling a tub surround and bathroom floor, this was a pretty easy job. I did get help from Ryan, who made all of the cuts for me as I told him the measurements. We were able to complete the closet tile in less than 4 hours. It is now ready for grout and then the organizational units can go in!
We purchased a Designers Image Wooden Closet System from Menards. It was originally $850 for 2 units and we were going to have to purchase just 1 at a time. We went on Sunday with the intention of buying a unit during their 11% rebate promotion. To our surprise, it was also on sale and we were able to get both units for about $600. It is the perfect fit for our closet and we don’t have to build anything from scratch, which was my original plan. While I love to build things like this and customizing it to our needs is great, I just don’t have the time right now and we need a functional closet.
I can’t wait for the final reveal of this project (and the bathroom when it is finished). These projects take significantly longer than before we had kids, but they are so rewarding. The house gets a lot more attention during the winter when the garden is sleeping, so we will keep on tackling projects each week. Stay tuned!